
Stop the Chipping: Why Infrared Preheating Actually Works
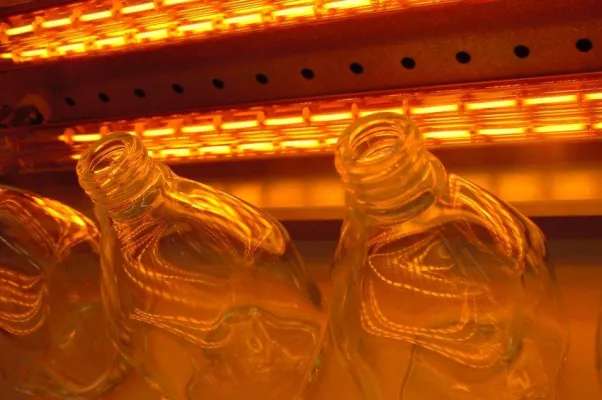
If you’ve ever cut cold glass, you know the frustration. You score the line, you go for the break, and—snap—you get those jagged little chips or a corner that just breaks off where it shouldn’t. It’s a pain. The reason it happens is pretty simple: cold glass is tense. When the cutting head hits the surface, that tension makes the fracture wander. It doesn’t stay on the line; it jumps. The fix? Heat it up first. The secret is in the warmth Glass doesn’t move heat around very well. When you hit it with a cold cut, it’s a massive mechanical shock to the system. But if we use short-wave infrared (IR) lamps to warm up the surface right before the cut, everything changes. It relaxes the material at a molecular level. Instead of that erratic jumping, the crack just glides straight down the score line. You get a clean, crisp edge. Every time. Getting the setup right You can’t just use any old heater. You need high-watt density lamps—usually quartz halogen tubes—because they get the glass up to temperature in a heartbeat. If your setup is too weak, the glass won’t hit that “sweet spot” before it reaches the blade. If that happens, you’re right back to square one with those annoying chips. One pro tip: keep the heat focused exactly where you’re cutting. If you heat the whole sheet, the glass can bow or shift, and then you’ve got a whole new set of problems on your hands. A few things to watch out for It’s not all plug-and-play. Those high-heat lamps pull a lot of power. If you’re ramping up a production line with a big array of lamps, make sure your wiring and breakers can actually handle the peak current. You don’t want to trip a breaker in the middle of a run. And be careful not to go overboard with the heat. If the glass gets too hot and then cools too fast after the cut, you risk thermal shock. It’s all about finding that balance between your line speed and the temperature. Once you nail it, the process feels effortless.