
Getting the Heat Right for High-Gloss Glass
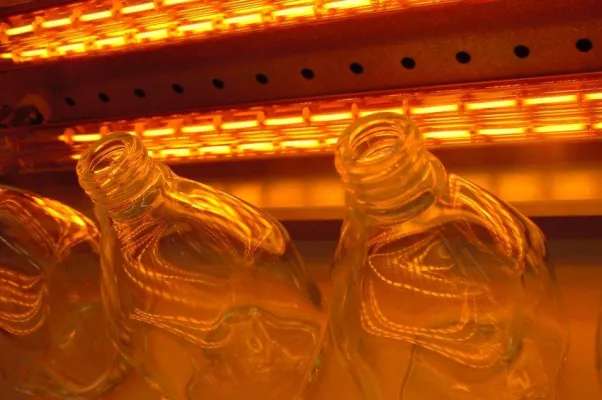
If you’re messing around with new glass materials, you’ve probably noticed that standard, off-the-shelf heaters just don’t cut it. Most people think the goal is just to spread heat evenly. But when you’re chasing that perfect high-gloss finish, “even” isn’t always what you need. You need to control exactly where that energy hits the glass. If you don’t, you’re looking at warped sheets or curing that looks splotchy. It’s all about where the power goes. We don’t just look at the total wattage. That’s too simple. Instead, we look at power density. Think of it this way: in the R&D phase, you might need a sharp spike of heat right in the center of the glass, then a slow fade toward the edges. We handle that by tweaking the filament winding and the spacing to hit those exact marks. Why? Because “hot spots” are the enemy. If you cram too many watts into one tiny area, the glass is going to crack. Simple as that. Making it work for your process The best part about our R&D support is that you aren’t locked in. You can play with the parameters. Want to define the wattage per linear centimeter? Go for it. Need to shift the heat load because your conveyor is moving faster? We can do that. It means you can keep your line moving at full speed without sacrificing the gloss. The real-world trade-offs Now, here’s the catch. When you crank up the power density to speed things up, your reflectors take a beating. You’ve got to make sure your housing is vented properly. If the heat just sits in the chamber, it starts to fight you—it can actually ruin the finish you just spent all that time curing. We built these systems so you can experiment with different materials without having to tear down and rebuild your entire oven. You just swap the lamp specs, wire it up, and check your surface temps. It turns a long, frustrating trial-and-error process into something that actually feels efficient.