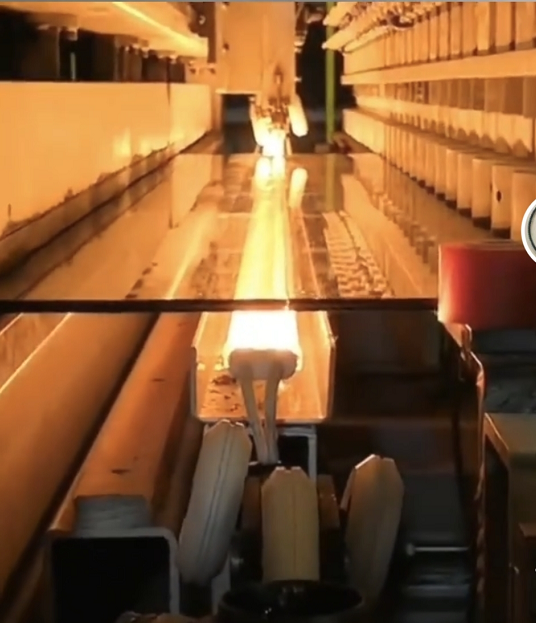
Getting Your Thermal Profiles Right for Glass R&D
Most standard annealing ovens are built for one thing: uniform heat. But if you’re in a lab messing around with new glass compositions, “uniform” is usually the last thing you actually want. You need to be able to push the material. You want to see how it handles localized stress and weird cooling rates. Basically, you need to control where the heat hits and how hard.
It’s about power, not just size
When most vendors talk about “customization,” they’re just talking about making the box bigger or smaller. That’s not what matters here. What actually matters ispower density. We focus on the wattage per linear centimeter. By tweaking that, we can build specific thermal gradients into the oven. It means you can simulate the kind of stress points your glass will hit in the real world, or just speed up the annealing cycle so you aren’t waiting all day for a prototype. You tell us the heat map your material needs for its transition temperature, and we make it happen.
Taming the heat map
You can’t just turn a dial and hope for the best. That’s how you get hot spots, and hot spots lead to cracked glass. We play around with the element spacing and wattage to keep things stable. But here’s a heads-up: if you crank up the power density to shave time off your cycles, your cooling system has to keep up. If the exhaust can’t handle the extra load, you’ll deal with thermal drift, and that ruins your data.
Stop fighting factory presets
There is nothing worse than being locked into a factory setting when you’re trying to discover something new. We decouple the power supply from those fixed presets. It gives you the freedom to tweak voltage and current on the fly until you find the perfect soak time for a new formula. Plus, you can wire the whole thing up to a PLC. This lets you run complex profiles that actually mimic a real industrial production line. It’s a huge relief because it closes that annoying gap between a tiny lab sample and a full-scale manufacturing run.